Visual Testing:互動後的快照比對
04 Aug 2022前幾篇文章 (文 1、文 2) 提到的都是對頁面的初始狀態做快照,若希望經過特定操作流程後,再做快照,可以嗎?
我們可以將這些互動分為兩種類型
- 方法 1:JavaScript-triggered:在 story 裡面放置 play function,並在 play function 處理模擬使用者操作的行為即可,例如:click 等。
- 方法 2:CSS 狀態的呈現方面,是無法用 play 來模擬的,例如:hover 或 focus (但這些也可用 js 處理,仍適用方法 1)。官方推薦做快照的方法有:
- 為這些 hover、focus 狀態的樣式製作 class,為 story 加上這些 class 來做快照。
- 利用 props 與 flag 的方式設定 story 來做快照。
方法 1:JavaScript-triggered
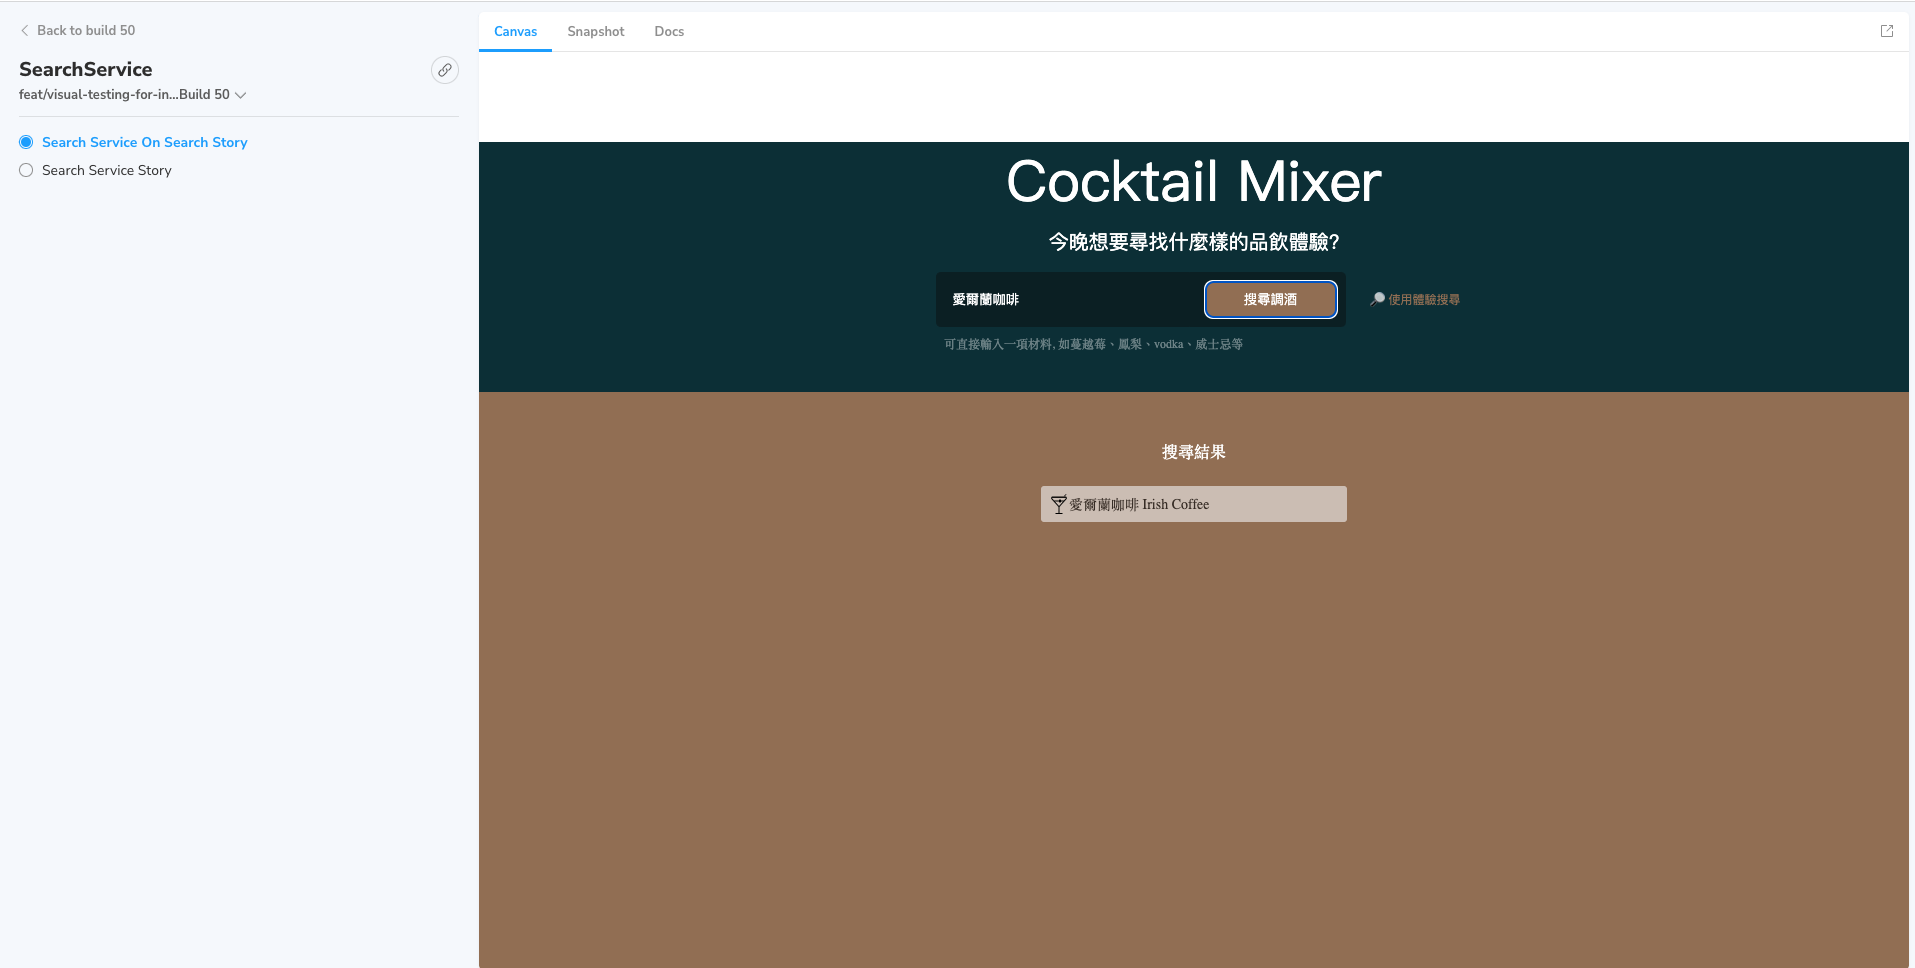
以 Mixtini 這個網站的搜尋功能為例,希望能模擬使用者在搜尋框輸入「愛爾蘭咖啡」並點擊搜尋按鈕,得到搜尋結果,再針對這個搜尋結果做快照。
實作
實作範例如下,在 Storybook 撰寫該 story,先利用 selector 拿到元件,再對元件輸入文字和點擊。
SearchService.play = async ({ canvasElement }) => {
  const canvas = within(canvasElement);
  const searchButton = canvas.queryByTestId(SEARCH_BUTTON);
  const searchInput = canvas.queryByTestId(SEARCH_INPUT);
  await userEvent.type(searchInput, '愛爾蘭咖啡');
  await userEvent.click(searchButton);
}
成果
初始狀態,快照如下。

模擬使用者在搜尋框輸入「愛爾蘭咖啡」並點擊搜尋按鈕,得到搜尋結果,再針對這個搜尋結果做快照,快照如下。
方法 2:CSS :hover state
以 Mixtini 這個網站的「聯絡我們」功能為例,希望能模擬使用者滑過按鈕時的特效,並針對這個特效做快照,以利用快照確認元件的 hover 狀態。
實作
為它加上 hover 狀態的 class,再為有此狀態的 story 做快照。
<Button className="hover">
  Submit
</Button>
CSS 增加 hover 狀態的樣式。
&:hover, &.hover {...}
利用 props 與 flag 的方式設定 story 來做快照。
元件設定。
export const Contact = ({ isHovered }) => {
  return (
    <Button isHovered={isHovered}>
      Submit
    </Button>
  );
}

Contact.defaultProps = {
  isHovered: false,
};
Story 設定。
import { Contact } from './Contact';

export default {
  component: Contact,
  title: 'Contact',
};

const Template = (args) => <Contact {...args}/>;

export const ContactHoverState = Template.bind({});

ContactHoverState.args = {
  isHovered: true,
};
成果
初始狀態,快照如下。
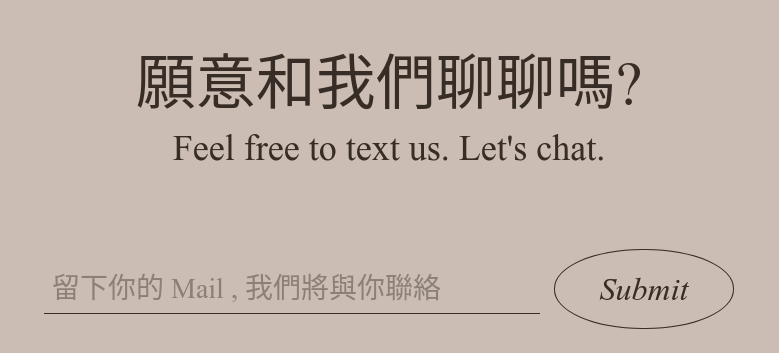
模擬使用者滑過按鈕時 (hover) 的特效,並針對這個特效做快照,快照如下。